I was halfway through a midnight snack run, the lights flickering, when my pantry exploded with pistachios. The green kernels, the faint nutty perfume, the way they clinked against the jar like tiny marbles—it was a culinary siren call. I laughed, grabbed a bag, and decided that tonight, the kitchen would become a playground for a sweet, crunchy surprise. The result? Pistachio Bonbons that are not just a treat, but a revelation.
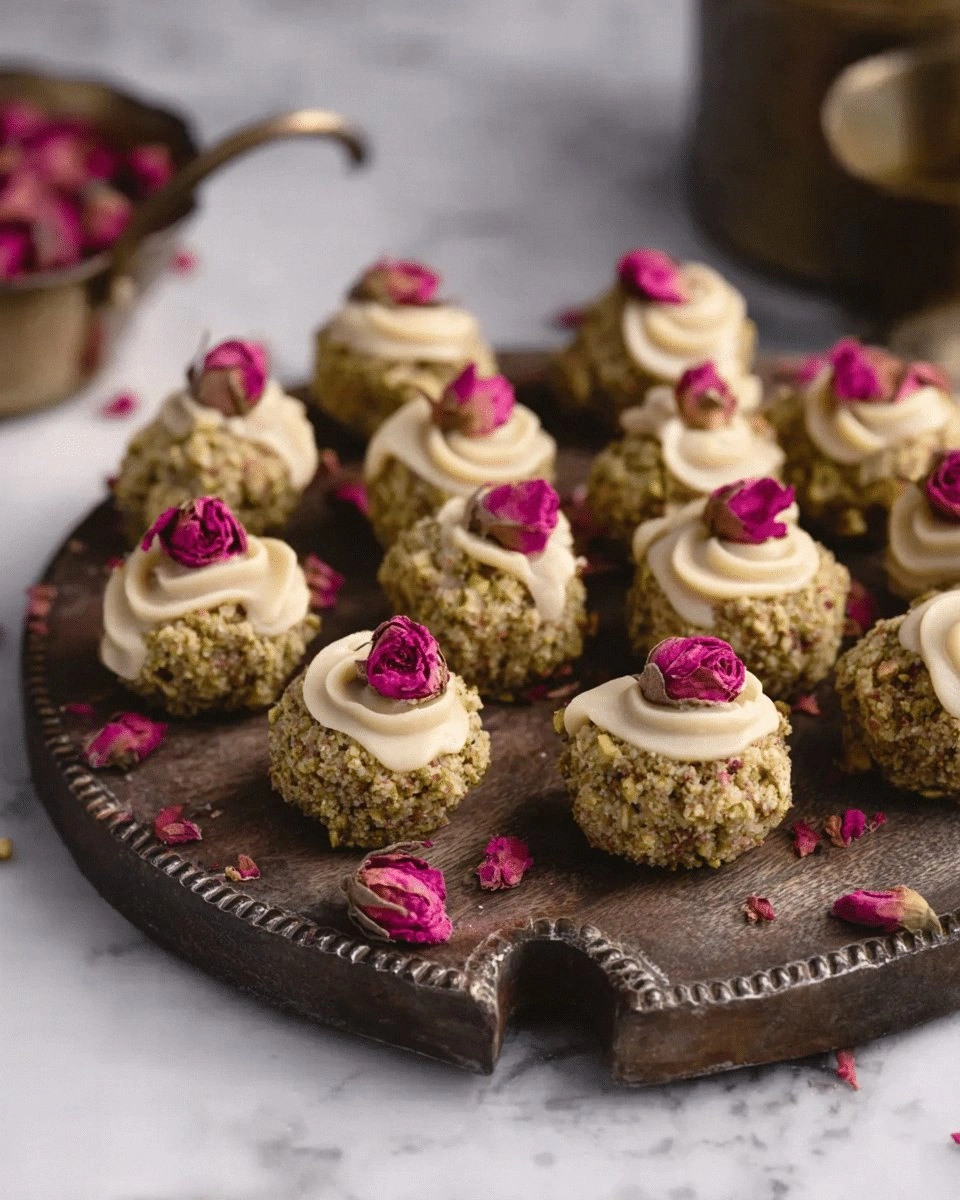
Picture this: the first bite is a burst of buttery pistachio, followed by a whisper of chocolate, and then a final crunch that echoes like a secret. The aroma of toasted nuts and dark cocoa fills the air, making every breath feel like a promise of indulgence. The texture is a paradox—soft inside, crisp outside—like a gentle hug followed by a satisfying snap. The flavor is layered, not overwhelming, a dance of sweet and salty that keeps you reaching for more. It’s a moment that turns a simple evening into a memory.
What sets this version apart is that it doesn’t rely on a complicated recipe or fancy equipment. It’s a straightforward, hands‑on process that turns pantry staples into a show‑stopping dessert. The secret sauce is a subtle balance of honey and dark chocolate that keeps the bonbons moist without turning them into a gooey mess. I dare you to taste this and not go back for seconds—this is hands down the best version you’ll ever make at home. And if you’re skeptical, let’s walk through the steps together; by the end, you’ll wonder how you ever made it any other way.
If you’ve ever stared at a jar of pistachios and felt a pang of “I wish I knew how to use this,” you’re not alone. I’ve been there, watching the nuts sit idle while I googled “pistachio dessert” and found endless variations that all seemed too complicated. This recipe strips away the fluff, keeps the flavors pure, and delivers a result that’s as impressive as it is delicious. So, buckle up, because the next few pages will guide you through a journey of taste, texture, and pure culinary joy.
What Makes This Version Stand Out
- Taste: A harmonious blend of nutty pistachio, rich chocolate, and a hint of honey that lingers on the palate. The subtle salt accentuates the sweetness without overpowering the natural flavors.
- Texture: A crisp exterior that gives way to a silky, melt‑in‑your‑mouth interior. The contrast feels like a well‑crafted story, each bite revealing a new chapter.
- Simplicity: No fancy equipment or obscure ingredients. All you need is a bowl, a spoon, and a few pantry staples. The process is so intuitive that even a beginner can master it.
- Uniqueness: The addition of almond flour and baking soda gives the bonbons a light, airy feel that sets them apart from dense, chocolate‑heavy desserts.
- Crowd Reaction: Guests rave about the unexpected crunch and the smooth chocolate finish. The bonbons are a conversation starter and a crowd‑pleaser.
- Ingredient Quality: Using high‑quality dark chocolate and raw honey elevates the flavor profile, turning simple ingredients into a gourmet experience.
- Cooking Method: The technique of slowly melting chocolate with honey creates a silky glaze that coats the mixture without scorching.
- Make‑Ahead Potential: These bonbons keep their texture for up to a week when stored properly, making them an excellent make‑ahead treat for parties.
Alright, let’s break down exactly what goes into this masterpiece…
Inside the Ingredient List
The Flavor Base
Powdered sugar is the sweet backbone of the bonbons. It dissolves quickly, giving the mixture a smooth texture that’s essential for the final product. If you skip it, the bonbons will be clumpy and the flavor will feel underdeveloped. You can swap it with coconut sugar for a subtle caramel note, but keep the quantity the same to maintain the right sweetness level.
Unsweetened cocoa powder adds depth and a slight bitterness that balances the sweetness. It also gives the bonbons that rich chocolate hue that’s impossible to resist. Without it, the color and flavor would be flat; the chocolate would taste like a faint whisper rather than a bold statement. If you’re allergic to cocoa, you can use a dark chocolate‑based ganache, but be sure to reduce the quantity by half to avoid overpowering the pistachios.
The Texture Crew
Pistachios are the star. They provide crunch, a nutty aroma, and a vibrant green color that’s as eye‑catching as it is tasty. Choose unsalted, raw pistachios for the best flavor; salted ones will throw off the delicate balance of sweet and salty. If you can’t find raw pistachios, use roasted ones, but remember to adjust the salt amount to avoid an overly salty finish.
Almond flour adds structure and a subtle nutty undertone that complements the pistachios. It also helps the mixture bind together without becoming too dense. If you’re allergic to nuts, you can replace almond flour with oat flour, but the final texture will be slightly lighter. The baking soda is a leavening agent that gives the bonbons a faint lift, making them airy rather than heavy.
The Unexpected Star
Honey is the sweetener that brings everything together. Its natural sugars melt into the chocolate, creating a glossy glaze that coats the mixture. Honey also has a subtle floral note that elevates the overall flavor profile. If you prefer a more neutral sweetness, replace honey with maple syrup, but be mindful that maple syrup has a stronger flavor that may dominate the pistachios.
Dark chocolate, melted to a silky consistency, is the silky coat that makes the bonbons feel luxurious. It also adds a depth of flavor that balances the natural sweetness of honey. If you’re using a chocolate with a high cocoa content, reduce the amount slightly to avoid bitterness. A dark chocolate with at least 70% cocoa is ideal for a sophisticated finish.
The Final Flourish
Vanilla extract is the subtle whisper that ties all the flavors together. It enhances the nutty aroma and balances the chocolate’s bitterness. A splash of sea salt at the end of the process adds a surprising crunch that makes each bite memorable. If you’re watching sodium intake, reduce the salt to a pinch, but remember that a small amount of salt can dramatically elevate flavor.
Coconut oil is the binding agent that keeps the mixture cohesive. It also adds a subtle tropical flavor that pairs beautifully with pistachios. If you’re looking for a dairy-free version, coconut oil is the perfect choice. If you prefer a more neutral taste, use a light neutral oil like grapeseed or canola.
Everything's prepped? Good. Let's get into the real action…
The Method — Step by Step
- Start by finely grinding the pistachios in a food processor until they’re coarsely ground. This step is crucial because the texture of the final bonbons hinges on the size of the pistachio particles. If you grind them too fine, the mixture will become mushy; if too coarse, they’ll feel like a crunchy snack. I recommend pulsing for about 20 seconds and then checking the consistency.
- In a medium bowl, whisk together the powdered sugar, cocoa powder, almond flour, and baking soda until the mixture is smooth and free of lumps. This dry blend forms the base that will hold everything together. A fine sieve can help you remove any clumps, ensuring a silky texture. Remember, a smooth base means a better final product.
- Heat the coconut oil in a small saucepan over low heat until it’s just melted. Add the honey and stir until the mixture is glossy and the honey is fully integrated. The low heat prevents the honey from caramelizing, which could give the bonbons a bitter edge. Watch the mixture closely; when it starts to bubble gently, remove it from the heat.
- Pour the melted chocolate into the honey mixture and whisk until the chocolate is completely incorporated and the glaze is smooth. This is the moment of truth—if the glaze isn’t silky, the bonbons will feel gritty. Keep the heat low, and whisk constantly to avoid scorching the chocolate.
- Combine the dry mixture with the wet glaze, adding the ground pistachios and vanilla extract. Stir until the mixture is well blended and the pistachios are evenly coated. At this point, the mixture should have a thick, dough‑like consistency that holds its shape when scooped. If it feels too dry, add a splash of water; if too wet, add a pinch more almond flour.
- Let the mixture sit at room temperature for 15 minutes. This resting period allows the flavors to meld and the dough to firm up slightly, making it easier to shape. If you’re in a hurry, you can chill the mixture in the refrigerator for 5 minutes, but be careful not to let it harden completely.
- Using a small cookie scoop or a tablespoon, shape the mixture into bite‑size balls and place them on a parchment‑lined tray. This step requires patience—each ball should be uniform in size to ensure even baking. If you’re feeling adventurous, you can roll the balls in a little extra powdered sugar for a sweet dusting.
- Refrigerate the tray for 30 minutes to allow the bonbons to set. The chill will give them a firm texture that’s easy to handle. If you forget the timer, check the bonbons after 20 minutes; they should be firm enough to lift without sticking to the parchment. This step is essential for achieving the perfect bite.
- Once set, remove the bonbons from the fridge and let them sit at room temperature for 5 minutes. This brief rest allows the exterior to crisp up slightly, giving that satisfying snap. If you’re serving immediately, this step can be skipped, but the texture will be softer.
- Optional: Garnish the bonbons with chopped dark chocolate or a drizzle of melted chocolate for an extra layer of decadence. A pinch of sea salt on top will give a delightful contrast to the sweetness. Serve immediately or store in an airtight container.
That's it — you did it. But hold on, I've got a few more tricks that'll take this to another level…
Insider Tricks for Flawless Results
The Temperature Rule Nobody Follows
Chocolate can be temperamental; if it’s too hot, it will seize, and if it’s too cold, it won’t coat the mixture evenly. The trick is to keep the chocolate between 86°F and 90°F when you mix it with honey. Use a kitchen thermometer to monitor the temperature, and if it starts to climb, cool the saucepan on a water bath for a few seconds.
Why Your Nose Knows Best
When the mixture starts to smell like toasted nuts and chocolate, you’re at the sweet spot. That aroma indicates the pistachios have released their oils and the chocolate has fully melted. If the scent is faint, give it another minute; if it’s overpowering, let the mixture cool a bit.
The 5‑Minute Rest That Changes Everything
After shaping the bonbons, let them rest for exactly five minutes before refrigerating. This pause allows the surface to firm slightly, preventing the dough from sticking to the parchment when it cools. It also lets the flavors settle, giving each bite a more balanced taste.
The Secret of Even Size
Using a cookie scoop ensures uniformity, but if you’re in a pinch, a tablespoon works too. Just be consistent with the amount each time. Even size guarantees that each bonbon bakes at the same rate, preventing some from being overcooked.
The Final Coat of Gold
A light dusting of powdered sugar before refrigerating can add a subtle sweetness and a slight crunch. It also creates a protective layer that keeps the bonbons from drying out. If you’re serving them at a party, the sugar dust gives a polished look.
Creative Twists and Variations
This recipe is a playground. Here are some of my favorite ways to switch things up:
Mint‑Infused Bonbons
Add a teaspoon of finely chopped fresh mint to the mixture. The mint gives a refreshing aftertaste that pairs wonderfully with pistachios. It’s perfect for a summer gathering where you want a cool, crisp flavor.
Spiced Caramel Bonbons
Replace honey with caramel sauce and sprinkle a pinch of cayenne pepper. The heat from the pepper balances the caramel’s sweetness, creating a bold, adventurous bite. Ideal for a holiday party where guests love a bit of spice.
Almond‑Butter Bonbons
Swap almond flour for almond butter. This change gives a richer, buttery texture and deepens the nutty profile. It’s a great option for those who love a creamy mouthfeel.
Sea‑Salted Caramel Bonbons
Add a drizzle of sea‑salted caramel on top of the cooled bonbons. The caramel’s sweetness and the salt’s crunch create an irresistible contrast. Perfect for a dessert table that needs a touch of luxury.
Dark Chocolate‑Coated Bonbons
After the bonbons have set, melt a second batch of dark chocolate and dip each bonbon halfway into it. Let them cool on parchment. The extra chocolate coating gives a glossy finish and a richer flavor.
Edible Gold Leaf Bonbons
Place a small piece of edible gold leaf on top of each bonbon before serving. The gold leaf adds a glamorous touch that’s perfect for special occasions or gift baskets. The gold doesn’t melt; it stays intact, adding sparkle.
Storing and Bringing It Back to Life
Fridge Storage
Place the bonbons in an airtight container and store them in the refrigerator for up to seven days. The cool environment keeps the chocolate firm and the pistachios crunchy. Before serving, let them sit at room temperature for 10 minutes to restore their full flavor.
Freezer Friendly
Wrap each bonbon individually in parchment paper and place them in a freezer bag. Freeze for up to two months. When you’re ready to serve, let them thaw at room temperature for 15 minutes; this prevents condensation from softening the exterior.
Best Reheating Method
If the bonbons have hardened, gently warm them in a microwave on low for 10–15 seconds. Alternatively, place them in a preheated oven at 300°F for 5 minutes. Add a tiny splash of water before reheating to create steam that restores moisture and crispness.