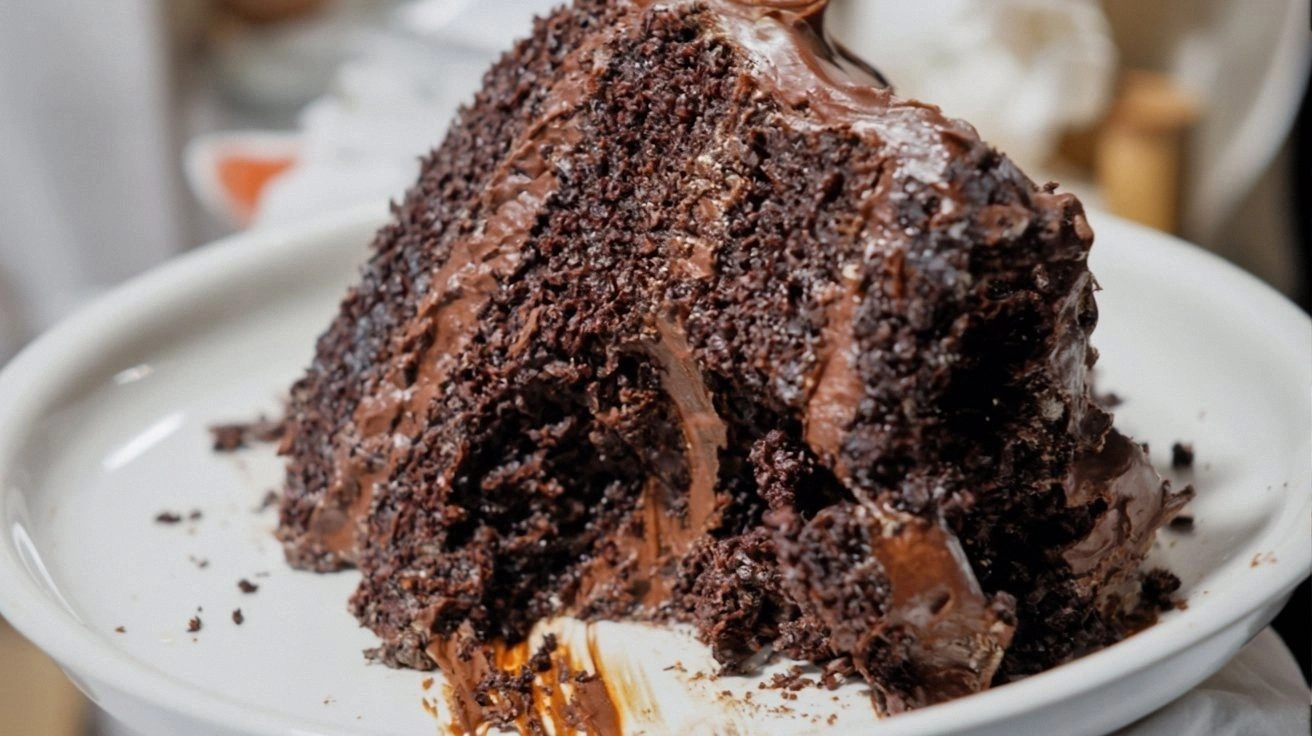
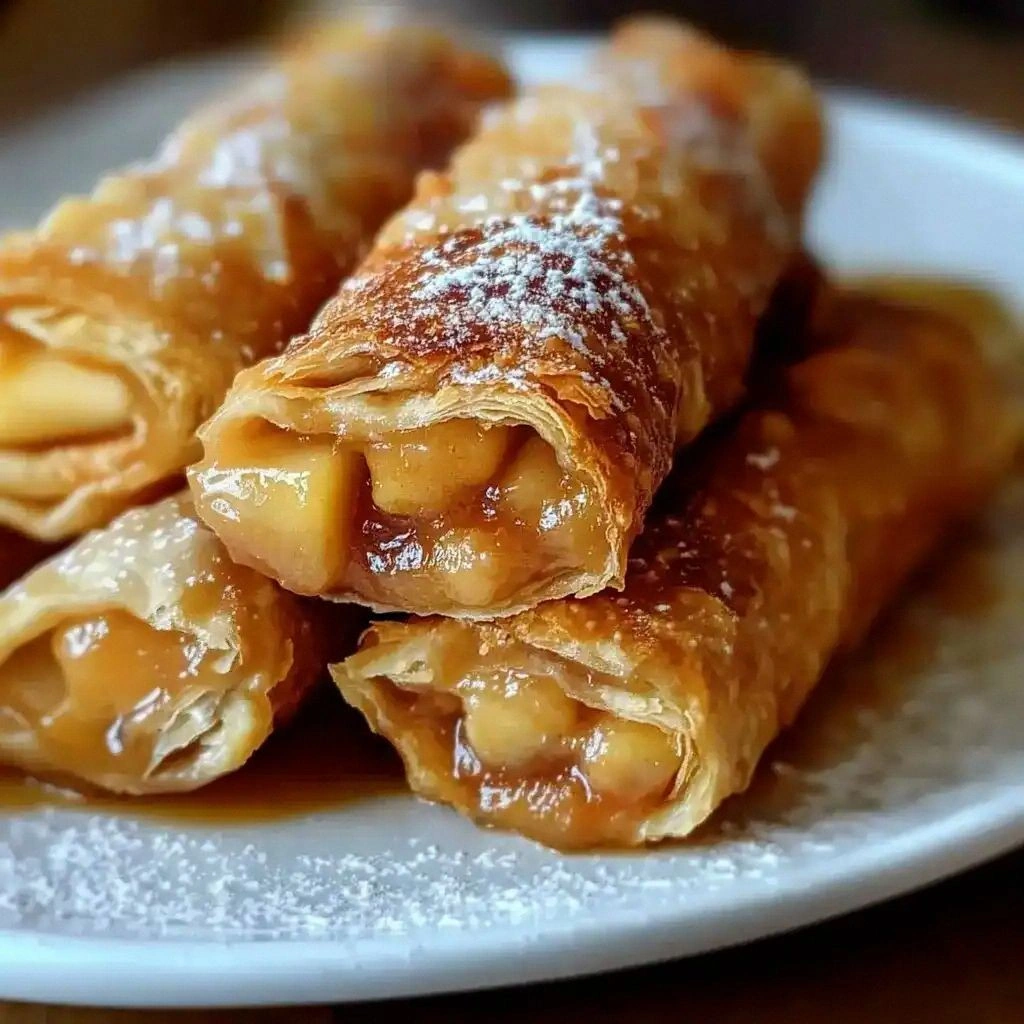
The scent that fills the air when the oven starts is unmistakable: warm dough, caramelized sugar, and a hint of vanilla that lingers like a familiar hug. The sound of the pastry baking is a soft crackle, almost like applause for the flavor coming together. The texture is a study in contrasts: the top is crisp, the middle is silky, and the base provides a comforting, buttery foundation. If you've ever struggled with a cheesecake that feels too dense or a pastry that falls apart, this recipe is your new best friend. I’ll be honest— I ate half the batch before anyone else got to try it. That’s the power of this version: it’s so irresistible you can’t keep it to yourself.
Most recipes get this completely wrong by overmixing the filling or undercooking the crust, resulting in a soggy mess. Here, the balance is precise: the cream cheese is softened just enough to fold in the sugar, the butter melts into the dough, and the cinnamon is sprinkled evenly for a subtle warmth that ties everything together. The result is a cheesecake that feels light yet rich, with a crust that doesn’t crumble under a fork. The best part? You can prep the dough a day ahead, letting the flavors mingle, and then assemble it just before baking. That’s how you keep the crunch and avoid the dreaded soggy bottom.
If you've ever struggled with this, you're not alone—and I've got the fix. The secret lies in how you treat the crescent rolls and how you layer the filling. We’ll walk through every single step, from preheating the oven to the final garnish, and by the end, you'll wonder how you ever made it any other way. Picture yourself pulling this out of the oven, the whole kitchen smelling incredible, and your guests’ eyes widening as the golden top glistens. The moment you slice into it, the creamy filling will ooze out, a sweet, fragrant promise of delight. Okay, ready for the game‑changer? Let’s dive in.
What Makes This Version Stand Out
- Flavor: The combination of sweet cream cheese and warm cinnamon creates a layered taste that’s both comforting and indulgent. The vanilla extract lifts the profile, giving the filling a subtle aromatic depth.
- Texture: The crisp pastry shell contrasts perfectly with the silky, almost mousse‑like filling, offering a satisfying bite that’s never soggy.
- Convenience: Using pre‑made crescent rolls eliminates the need to roll dough, saving time without sacrificing quality.
- Versatility: The recipe can be adapted with fruit toppings, chocolate drizzle, or a dusting of powdered sugar for a quick makeover.
- Crowd‑pleaser: The visually stunning golden crust and creamy center make it a showstopper for parties or family gatherings.
- Make‑ahead Friendly: Assemble the layers a day ahead, refrigerate, and bake only when ready—perfect for busy schedules.
- Ingredient Quality: Fresh, room‑temperature cream cheese and unsalted butter bring out the best in flavor and texture.
Inside the Ingredient List
The Flavor Base
The 8 oz of cream cheese is the heart of the filling. It’s thick enough to hold its shape yet soft enough to blend with sugar and vanilla. Skipping it would turn the dessert into a plain sugar‑laden pastry. For a richer taste, choose a full‑fat variety; for a lighter version, use a low‑fat cream cheese but be prepared for a slightly less creamy texture.
The Sweet Core
The 1.5 cups of sugar are divided between the filling and the crust, ensuring a balanced sweetness. The 1/2 cup of sugar in the crust caramelizes, giving the pastry a golden hue and a subtle crunch. If you prefer a less sweet dessert, reduce the sugar in the filling to 1 cup but keep the crust sugar unchanged to preserve the caramelized crust.
The Unexpected Star
The 2 tsp of cinnamon is the secret that ties everything together. It adds warmth and depth, complementing the creamy filling. If you’re not a cinnamon fan, try nutmeg or cardamom for a different aromatic profile. A pinch of sea salt can also brighten the overall flavor without making it taste salty.
The Texture Crew
The 2 packages of crescent rolls provide the buttery, flaky shell. The 1 package of crescent roll sheets adds extra layers of dough for a thicker crust. The 1/2 cup of butter, melted, is folded into the dough to create a tender crumb. If you can’t find crescent rolls, puff pastry sheets are a suitable alternative, though the texture will be slightly different.
Everything's prepped? Good. Let’s get into the real action.

The Method — Step by Step
- Preheat the Oven: Set your oven to 375°F (190°C). Let it reach the target temperature before you start; a preheated oven ensures even baking. Place a rack in the middle to allow airflow around the dish. The right temperature is key to achieving that golden crust.
- Prepare the Dough: Unroll the 2 packages of crescent rolls and the 1 package of crescent roll sheets onto a clean surface. Gently press them together, aligning the seams. This creates a single, cohesive sheet that will form the base. If you’re using puff pastry, roll it to the same thickness.
- Butter the Pan: Lightly grease a 9‑inch (23 cm) baking dish with butter or non‑stick spray. This prevents the pastry from sticking and adds a subtle buttery flavor to the edges.
- Layer the Dough: Place the rolled dough onto the greased pan, pressing it into the corners. Trim any excess dough from the edges to keep the shape neat. The dough should cover the pan completely, creating a uniform base.
- Make the Filling: In a medium bowl, combine the 8 oz cream cheese, 1.5 cups sugar, and 1 tsp vanilla extract. Beat until smooth and creamy. The mixture should be silky, with no lumps. Add the 1/2 cup melted butter gradually, mixing until fully incorporated.
- Add Cinnamon: Sprinkle 2 tsp cinnamon over the filling. Gently fold it in, ensuring even distribution. Cinnamon will give the filling a warm, aromatic undertone that balances the sweetness.
- Pour the Filling: Carefully pour the cream cheese mixture over the dough base. Use a spatula to spread it evenly, covering the entire surface. The filling should sit just above the dough, creating a clear separation.
- Bake: Place the dish in the preheated oven. Bake for 30 minutes, or until the top turns a golden brown and the filling is set but still slightly wobbly in the center. The edges should pull away from the pan, indicating a crisp crust.
- Cool: Remove from the oven and let the cheesecake cool to room temperature on a wire rack. This step allows the filling to firm up and the flavors to meld. Once cooled, refrigerate for at least 2 hours before slicing.
That's it—you did it. But hold on, I've got a few more tricks that'll take this to another level. Stay tuned for insider tips that will make your dessert flawless every single time.
Insider Tricks for Flawless Results
The Temperature Rule Nobody Follows
Many bakers bake at a lower temperature, assuming it will prevent burning. In reality, a slightly higher heat (around 375°F) ensures the crust crisps without the filling drying out. I once baked at 350°F and ended up with a soggy center. The higher temperature gives that perfect golden top.
Why Your Nose Knows Best
Before you open the oven door, pause and inhale. A sweet, buttery aroma means the crust is caramelizing correctly. If you smell a sharp, burnt scent, reduce the temperature or lower the rack. Your nose is the ultimate judge of doneness.
The 5‑Minute Rest That Changes Everything
After baking, let the cheesecake rest for exactly five minutes on the rack. This brief pause allows the filling to set fully, preventing cracks when you slice. It also lets the heat redistribute, giving a smoother texture.
Keep It Cool
Refrigerate the cheesecake for at least two hours, but overnight works best. The cold deepens the flavors and solidifies the creamy center. When you’re ready to serve, let it sit at room temperature for 10–15 minutes for the best mouthfeel.
Serve with a Twist
A drizzle of caramel or a dusting of powdered sugar adds visual appeal and extra sweetness. Alternatively, top with fresh berries for a burst of tartness that balances the richness. The possibilities are endless—experiment and find your favorite.
Creative Twists and Variations
This recipe is a playground. Here are some of my favorite ways to switch things up:
Chocolate‑Cinnamon Fusion
Swap half the sugar for unsweetened cocoa powder and add a pinch of cayenne pepper. The result is a chocolatey, slightly spicy cheesecake that pairs beautifully with a glass of red wine.
Berry Burst
Fold fresh raspberries or blueberries into the filling before baking. The fruit will release juices, creating a subtle berry swirl and a pop of tartness that cuts through the sweetness.
Caramel Swirl
Drizzle caramel sauce over the top before baking. As it bakes, the caramel will melt into the filling, forming a glossy, sweet ribbon that looks as good as it tastes.
Nutty Crunch
Add chopped pecans or walnuts to the crust for an extra crunch. Toast them lightly before mixing into the dough to bring out their nutty aroma.
Spiced Orange
Add a tablespoon of orange zest to the filling and replace the cinnamon with a dash of allspice. The citrus notes will brighten the dessert and give it a fresh, lively finish.
Storing and Bringing It Back to Life
Fridge Storage
Wrap the cheesecake tightly in plastic wrap and store in the refrigerator for up to 5 days. The cold preserves the creamy texture and keeps the crust from drying out. When ready to serve, let it sit at room temperature for 10 minutes.
Freezer Friendly
Place the cheesecake in a freezer‑safe container and freeze for up to 3 months. When thawing, allow it to defrost overnight in the fridge, then let it sit at room temperature for 15 minutes before serving.
Best Reheating Method
To refresh a refrigerated or frozen cheesecake, preheat the oven to 300°F (150°C). Place the cheesecake on a baking sheet and warm for 10–12 minutes, or until warmed through. Add a splash of water to the pan to create steam and keep the filling moist.