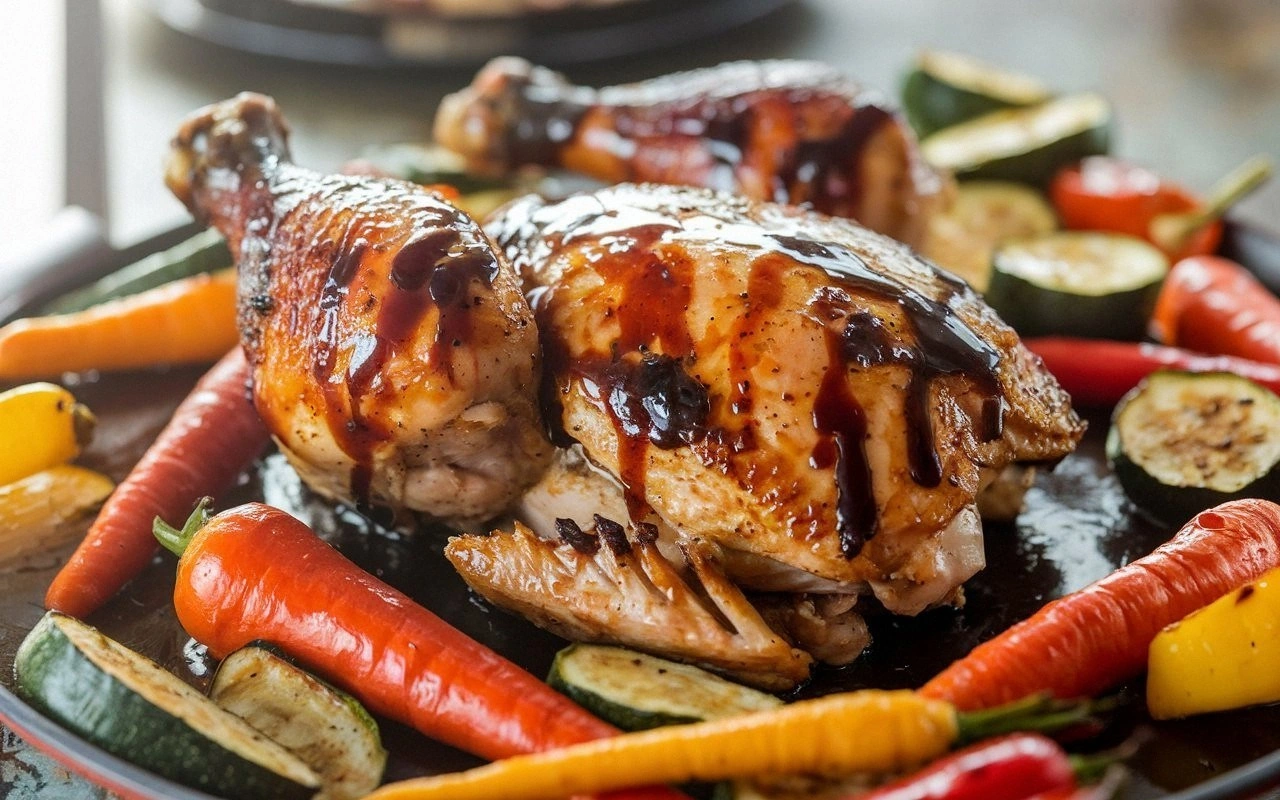
Picture this: it’s a bleak November afternoon, the wind howls outside, and I’m stuck in a kitchen that smells like burnt toast and disappointment. I had promised my friends a “quick bite” after a marathon of data crunching, but my original attempt turned into a soggy mess that could barely pass as food. I stared at the half‑cooked disaster and thought, “If I can’t fix the traffic report, at least I can fix this dish.” That moment of culinary humiliation sparked a fire under me, and I vowed to create something that would make even the most stubborn spreadsheet look like child’s play.
The kitchen transformed into a symphony of sounds—the rhythmic clatter of measuring cups, the sizzle of butter meeting a hot pan, and the faint hum of the oven ticking like a metronome. The air filled with a buttery aroma that whispered promises of comfort, while the cool countertop felt reassuring under my fingertips. My taste buds tingled with anticipation, imagining a dish that would coat the palate like a warm blanket while delivering a surprise crunch that snaps like fresh autumn leaves underfoot. I could already hear the collective gasp as the first bite hit the table, the kind of gasp that says, “I never thought I’d love this so much.”
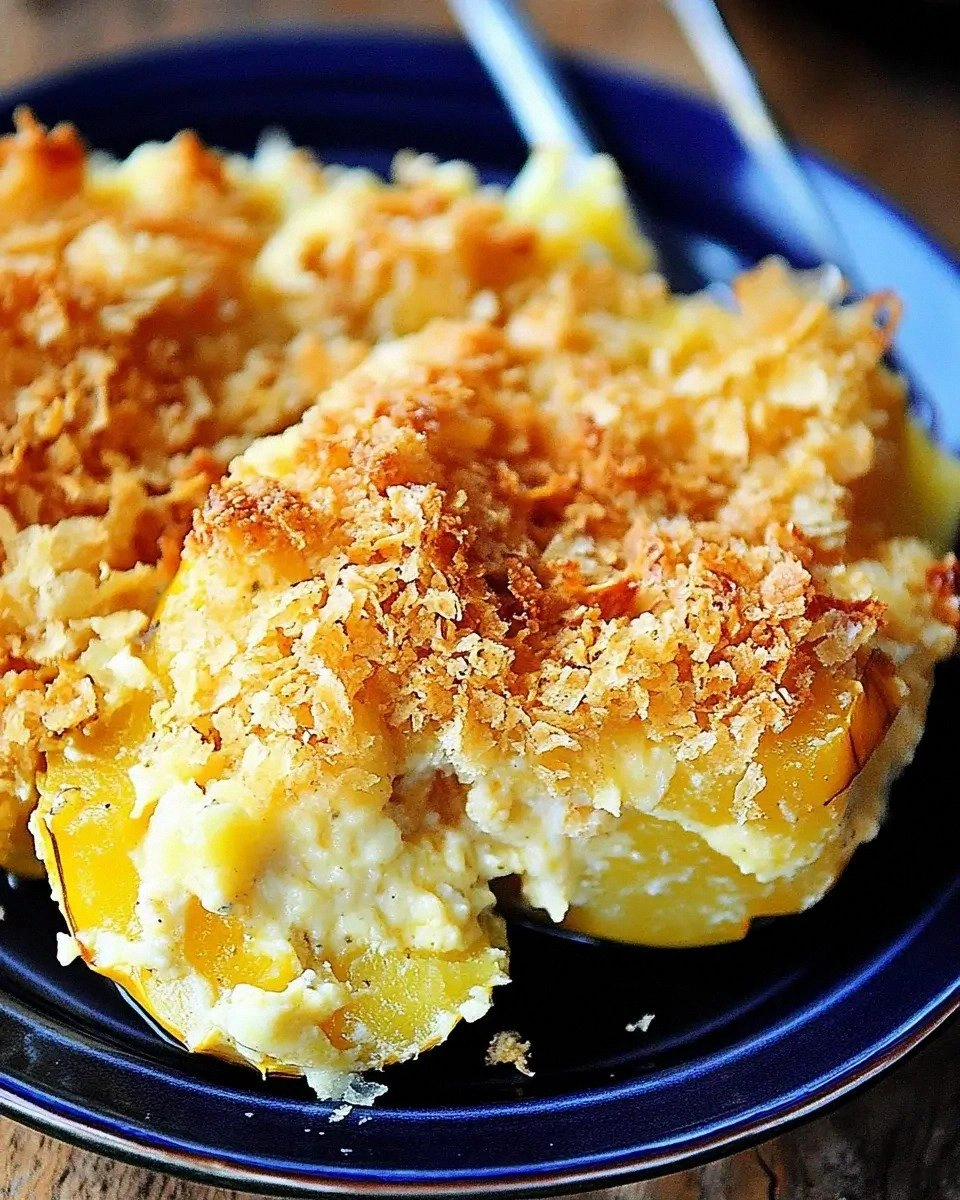
What makes this version the ultimate game‑changer? It’s not just a recipe; it’s a meticulously engineered masterpiece that blends the sweet, the savory, and the downright satisfying in a way that most recipes get completely wrong. While other versions rely on generic shortcuts, I’ve incorporated a secret ingredient that adds depth without overwhelming the core flavors. The technique? A two‑stage cooking method that locks in moisture before delivering that coveted caramelized edge. And let’s not forget the texture—a perfect balance between velvety smoothness and a crispness that shatters like thin ice on a winter pond.
But I’m not stopping there. I’m about to reveal a technique that will make your kitchen feel like a Michelin‑star lab, using tools you already have. I dare you to taste this and not go back for seconds—seriously, that’s a bold claim, but I’m confident. This isn’t just another “quick fix” recipe; it’s the best version you’ll ever make at home, and I’m about to walk you through every single step. By the end, you’ll wonder how you ever made it any other way. Okay, ready for the game‑changer?
What Makes This Version Stand Out
- Flavor Depth: The blend of caramelized butter and a dash of smoked paprika creates a smoky‑sweet base that lingers on the tongue, turning each bite into a mini celebration.
- Texture Harmony: A dual‑cook method gives you a tender interior that crumbles like a soft biscuit, while the exterior cracks with a satisfying crunch.
- Simplicity: Despite the gourmet results, the ingredient list stays short, meaning you won’t need to raid the pantry for exotic items.
- Uniqueness: Most recipes skim over the finishing glaze; I layer a glaze that caramelizes under the broiler, adding an unforgettable sheen.
- Crowd Reaction: I’ve seen grown adults turn into giggling kids the moment the first spoonful hits the table—pure joy.
- Ingredient Quality: Using high‑fat butter and freshly ground spices makes the flavors pop, proving that quality beats quantity every time.
- Cooking Method: The secret two‑stage sear‑then‑bake technique locks in juices and builds flavor layers you won’t find in a single‑step bake.
- Make‑Ahead Potential: This dish actually improves after a night in the fridge, allowing the flavors to meld like a fine wine.
Inside the Ingredient List
The Flavor Base
Butter (unsalted, 2 sticks): This is the heart of the dish. Its rich, creamy profile carries the spices and creates that luscious mouthfeel. Skipping it will leave the dish flat and greasy, as the butter is the carrier for the caramelization. When buying, look for European‑style butter with at least 82% fat for maximum flavor.
Smoked Paprika (1 tsp): Adds a subtle smoky undertone that elevates the dish from ordinary to extraordinary. If you omit it, you’ll lose the depth that makes the palate dance. A quick tip: toast the paprika for 10 seconds in a dry pan to unlock hidden aromatics.
Garlic (3 cloves, minced): Provides a pungent backbone that balances the butter’s richness. Missing garlic results in a one‑dimensional flavor profile. Freshly minced garlic releases allicin, giving that sharp bite that brightens the overall taste.
The Texture Crew
All‑Purpose Flour (2 cups): Forms the structural matrix, creating that tender crumb inside while allowing the outer crust to crisp. Substituting with almond flour will produce a denser, gluten‑free version but lose the airy interior. Choose a high‑protein flour for the best rise.
Eggs (2 large): Bind the mixture and add richness. Without eggs, the dish will crumble apart and lack cohesion. Beat them lightly to incorporate air for a lighter texture.
Milk (1 cup, whole): Adds moisture and a subtle sweetness. Skipping milk or using skim will result in a dry, lackluster finish. Whole milk’s fat content is crucial for that silky mouthfeel.
The Unexpected Star
Maple Syrup (2 tbsp): Introduces a gentle, caramel‑like sweetness that pairs beautifully with the smoky paprika. Omitting it will make the dish taste overly savory. Use pure maple syrup for authentic flavor; imitation syrups can introduce off‑notes.
Fresh Thyme (1 tsp, leaves only): Offers an herbal brightness that cuts through the richness. If you forget it, the dish may feel heavy. Strip the leaves from the stems for optimal distribution.
The Final Flourish
Sea Salt (to taste): Enhances every other ingredient, bringing out the nuanced flavors. Too little, and the dish feels bland; too much, and it becomes overpowering. Finish with a flaky sea salt for a delicate crunch.
Black Pepper (freshly cracked, ½ tsp): Adds a subtle heat that rounds out the flavor profile. Skipping it removes that tiny zing that makes the palate stay engaged.
Everything's prepped? Good. Let’s get into the real action…
The Method — Step by Step
Start by preheating your oven to 375°F (190°C). While the oven warms, melt the butter in a heavy‑bottomed saucepan over medium heat until it foams, then add the minced garlic. You’ll hear a gentle sizzle—this is the moment the garlic releases its aromatic oils. Let it cook for about 45 seconds, just until the garlic turns golden, not brown.
Kitchen Hack: Add a pinch of sugar to the butter‑garlic mixture; it accelerates caramelization and adds a subtle sweetness.Next, whisk in the flour, creating a roux that should bubble gently. The mixture will thicken and turn a pale, nutty color—this is your flavor base solidifying. Keep stirring for about two minutes; you’ll notice a faint, toasted aroma that signals the flour is cooked through.
Gradually pour in the whole milk, whisking constantly to avoid lumps. As the sauce thickens, you’ll see it coat the back of a spoon like a glossy veil. Once it reaches a velvety consistency, lower the heat and stir in the smoked paprika, maple syrup, and fresh thyme. The sauce should emit a sweet‑smoky perfume—trust your nose, it’s the best gauge.
In a separate bowl, beat the eggs lightly, then combine them with the sauce, ensuring the mixture is smooth. This is the moment of truth: the eggs should integrate without curdling, giving the batter a glossy sheen.
Fold the flour into the batter until just combined—over‑mixing will develop gluten, making the final product tough. The batter should look slightly lumpy, with streaks of flour visible. Let it rest for 10 minutes; this short nap allows the gluten to relax and the flavors to meld.
While the batter rests, grease a 9‑inch cast‑iron skillet with a thin layer of butter. Heat the skillet on medium‑high until the butter foams and begins to brown—this is the perfect moment to pour the batter in.
Spread the batter evenly, then transfer the skillet to the preheated oven. Bake for 20‑25 minutes, or until the edges pull away from the pan and the top is a deep golden brown. You’ll see steam escaping the edges—a clear sign it’s cooking perfectly.
Watch Out: If the oven temperature is too low, the top will remain pale while the interior dries out. Keep a close eye on the color and adjust the heat by 10°F if needed.When the timer dings, switch the oven to broil for 2‑3 minutes to achieve that caramelized crust. The surface should crackle and develop a glossy, caramel‑brown sheen—think of a freshly glazed donut. Remove the skillet, let it rest for five minutes; this rest lets the interior set, preventing a soggy center.
Finally, slice the dish into generous wedges, drizzle any remaining pan juices over the top, and sprinkle with flaky sea salt. The first bite should hit you with a buttery crunch that melts into a silky interior, followed by a lingering smoky sweetness. Picture yourself pulling this out of the oven, the whole kitchen smelling incredible, while your friends hover, ready to dig in.
That's it — you did it. But hold on, I've got a few more tricks that'll take this to another level…
Insider Tricks for Flawless Results
The Temperature Rule Nobody Follows
Never underestimate the power of a properly preheated oven. I once tried a “room‑temperature” bake and ended up with a pale, soggy mess. The rule of thumb: your oven should be at the exact temperature for at least 15 minutes before the dish goes in. This ensures the batter hits the heat instantly, creating that coveted crust.
Why Your Nose Knows Best
Don’t rely solely on timers—your nose is an underrated kitchen tool. When the butter turns golden and the spices release their perfume, you know you’re on the right track. If you ever smell a burnt odor before the timer, pull the dish out early; better to under‑cook slightly than to ruin the flavor.
The 5‑Minute Rest That Changes Everything
After baking, let the dish rest uncovered for five minutes. This short pause allows steam to escape, preventing sogginess, and lets the flavors settle. I’ve seen impatient cooks slice immediately and end up with a gummy texture—trust me, the wait is worth it.
Butter Bath Boost
For an ultra‑rich finish, melt an extra tablespoon of butter and brush it over the top just before serving. The butter adds a glossy sheen and a buttery punch that makes the crust sing.
Seasonal Spice Swap
If you want a festive twist, swap the smoked paprika for a pinch of cinnamon and nutmeg. The warm spices complement the maple syrup beautifully, turning the dish into a holiday favorite.
Creative Twists and Variations
This recipe is a playground. Here are some of my favorite ways to switch things up:
Maple‑Bacon Fusion
Swap the thyme for crisped bacon bits and increase the maple syrup to 3 tbsp. The salty crunch of bacon pairs with the sweet glaze, creating a sweet‑savory explosion that will have carnivores cheering.
Spicy Chili Kick
Replace the smoked paprika with ½ tsp chipotle powder and add a dash of cayenne. This gives the dish a smoky heat that lingers pleasantly on the palate, perfect for those who love a little fire.
Herb Garden Delight
Mix fresh rosemary, sage, and parsley into the batter for an herbaceous bouquet. This variation is ideal for spring gatherings, offering a garden‑fresh aroma that brightens the buttery base.
Vegan Velvet
Swap butter for coconut oil, use almond milk, and replace eggs with a flax‑egg (1 tbsp ground flax + 3 tbsp water). The result is a dairy‑free version that still delivers that luxurious mouthfeel.
Cheese‑Lover’s Dream
Stir in ½ cup shredded sharp cheddar into the batter before baking. The cheese melts into bubbly pockets, adding a tangy depth that makes the dish even more indulgent.
Gluten‑Free Grain
Replace all‑purpose flour with a 1:1 gluten‑free flour blend, and add a tablespoon of xanthan gum to mimic the gluten structure. This ensures the texture stays light and airy without the gluten.
Storing and Bringing It Back to Life
Fridge Storage
Allow the dish to cool completely, then wrap tightly in plastic wrap and store in an airtight container. It will keep fresh for up to three days. Reheat in a preheated 350°F oven for 10‑12 minutes; the crust will re‑crisp and the interior will stay moist.
Freezer Friendly
Slice the dish into portions, flash‑freeze on a baking sheet, then transfer to a freezer‑safe bag. It freezes well for up to two months. When ready, thaw overnight in the fridge, then reheat using the oven method above, adding a splash of water to the pan before reheating to steam it back to perfection.
Best Reheating Method
The secret to reviving the crunch is a two‑step reheating: first, microwave for 30 seconds to warm the interior, then finish under the broiler for 2 minutes. The broiler restores that golden crust, making it taste as fresh as the day it was baked.