I was standing in my kitchen, the timer on the old oven ticking like a nervous metronome, when a friend dared me to create a chocolate that was both dark enough to make a grown‑up weep and sweet enough to make a kid grin. I laughed, grabbed a bag of dark cocoa nibs, a jar of coconut sugar, and a splash of coconut oil, and the disaster‑turned‑delight began. The air filled with the scent of toasted cacao, a perfume that whispered promises of midnight indulgence while the kitchen floor vibrated with the low hum of the refrigerator humming like a distant drum. I could hear the faint crackle of the sugar caramelizing, see the glossy sheen forming on the chocolate surface, and feel the buttery smoothness as the mixture slipped between my fingers. That moment was the spark that ignited what I now swear is the ultimate version of naturally sweet dark chocolate.
If you’ve ever tried to make dark chocolate at home, you know the struggle: bitter bites that feel like you’re chewing on a piece of cardboard, or sweetened concoctions that taste like a candy bar that’s been left out in the sun. Most recipes get this completely wrong. They either drown the chocolate in sugar, or they forget the little secret that makes the whole thing sing – a natural sweetener that marries the deep, earthy notes of cacao with a gentle, caramel‑kissed finish. The secret? Coconut sugar, a low‑glycemic sweetener that adds a subtle hint of caramel without overpowering the dark chocolate’s natural bitterness. It’s the game‑changer that turns a regular chocolate bar into a sophisticated, soul‑satisfying treat.
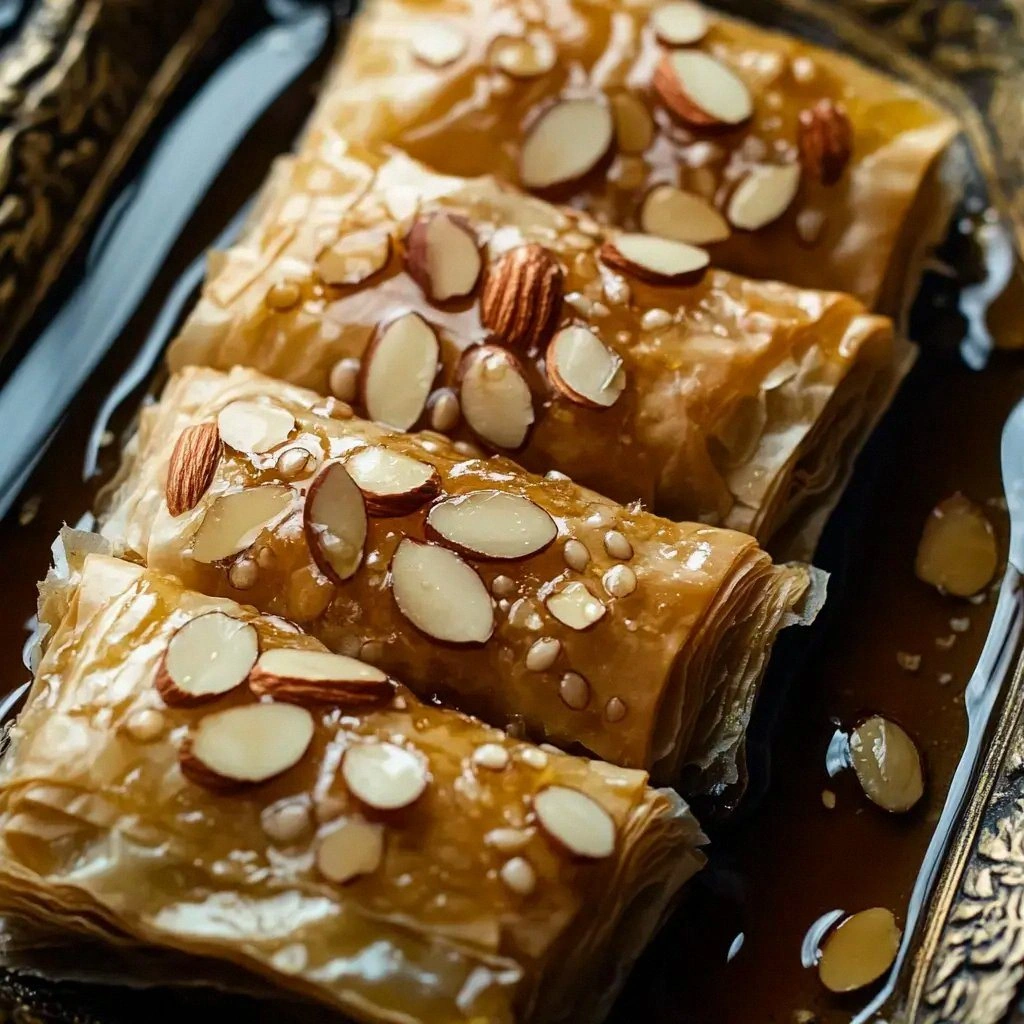
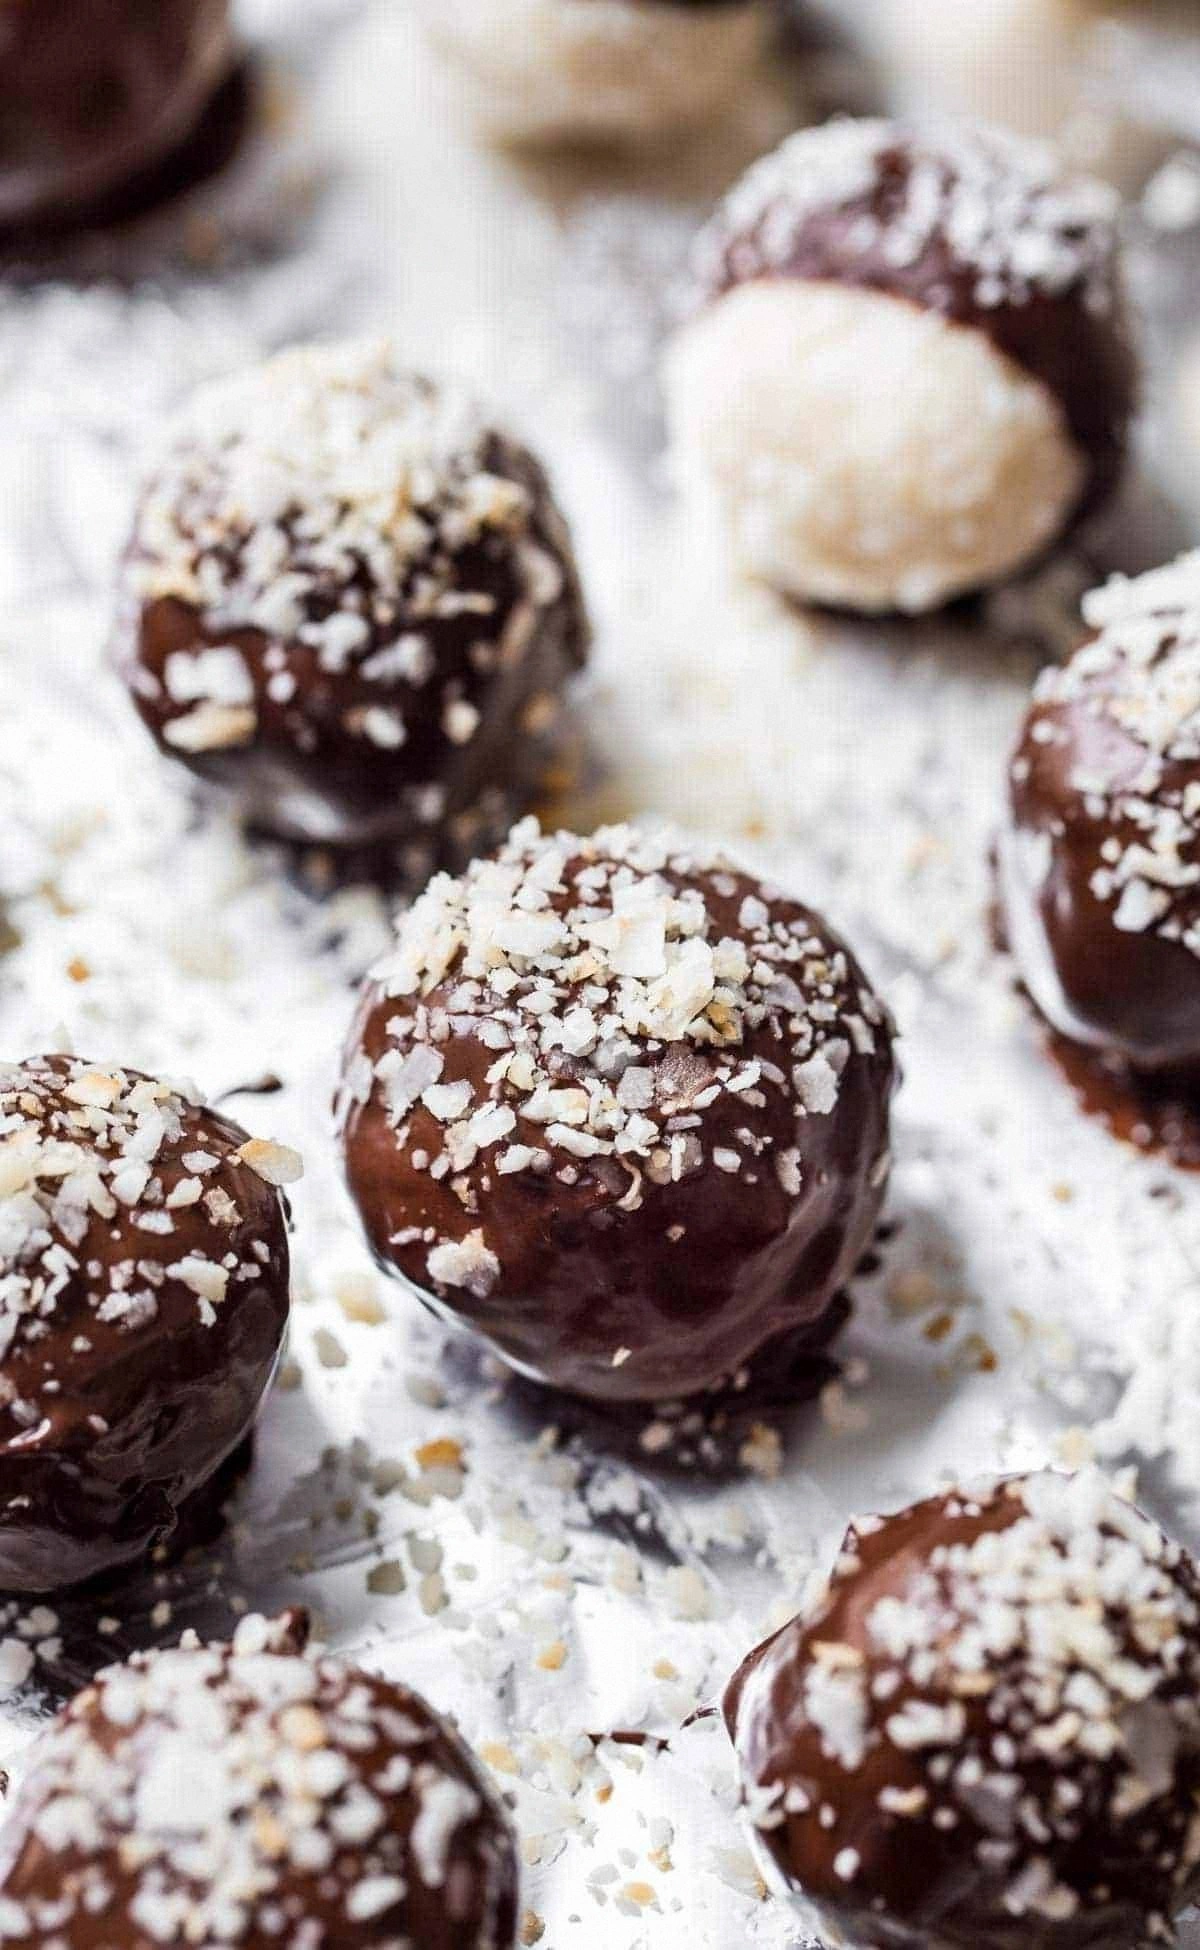
What truly sets this batch apart is the texture. Imagine a bite that snaps cleanly, then melts like velvet on your tongue, releasing waves of roasted cocoa, toasted coconut, and that whisper of sea‑salt that makes your taste buds do a little happy dance. The coconut flakes are toasted just enough to give you a crunchy surprise that doesn’t dominate the experience but adds a playful contrast. It’s the kind of chocolate that makes you pause, stare at the glossy surface, and think, I dare you to taste this and not go back for seconds. And trust me, I’ve already eaten half the batch before anyone else got a chance to try it – confession time: it was impossible not to.
But the magic doesn’t stop at flavor. The technique I’m about to reveal is a twist you won’t find in any standard recipe book. Instead of tempering the chocolate the traditional way, I use a gentle double‑boil method paired with a short, controlled cooling period that preserves the cocoa butter crystals while keeping the chocolate glossy and snap‑ready. This approach keeps the chocolate from becoming grainy, and it’s forgiving enough for home cooks who aren’t professional chocolatiers. Picture yourself pulling this out of the pan, the whole kitchen smelling incredible, and the first bite delivering that perfect balance of dark, sweet, and salty. Okay, ready for the game‑changer? Let me walk you through every single step — by the end, you’ll wonder how you ever made it any other way.
What Makes This Version Stand Out
- Depth of Flavor: The combination of high‑percentage dark cocoa with coconut sugar creates a layered taste profile that starts bitter, ends sweet, and stays balanced throughout.
- Texture Harmony: Toasted coconut flakes give a delicate crunch that contrasts with the smooth melt‑in‑your‑mouth feel of the chocolate.
- Simplicity: Only six core ingredients, all pantry‑friendly, mean you don’t need a specialty store run to pull this off.
- Uniqueness: The use of coconut oil instead of butter keeps the chocolate glossy and gives a subtle tropical note that most dark chocolates lack.
- Crowd Reaction: Guests often say “Is this store‑bought?” before you even finish the story about how you made it.
- Ingredient Quality: Choosing a 70% cacao bar ensures a robust chocolate base without overwhelming bitterness.
- Method Mastery: The double‑boil plus short‑cool technique guarantees a perfect snap and snap‑back without expensive tempering tools.
- Make‑Ahead Potential: This chocolate stays fresh for weeks when stored properly, making it perfect for gifting or stocking the pantry.
Alright, let's break down exactly what goes into this masterpiece...
Inside the Ingredient List
The Flavor Base
70% Dark Chocolate (2 cups, chopped): This is the heart of the recipe. The higher cocoa content gives the bitterness that pairs perfectly with the natural sweetness of coconut sugar. If you skip it, you’ll end up with a bland, candy‑like bar that lacks depth. Look for chocolate that lists cocoa solids first on the label – the higher the percentage, the richer the flavor. For a vegan version, make sure the chocolate contains no dairy butter.
The Sweet Whisper
Coconut Sugar (1/2 cup): Unlike refined white sugar, coconut sugar adds a subtle caramel note that mimics the taste of toffee without overwhelming the cocoa. It also has a lower glycemic index, which means the chocolate won’t spike your blood sugar as harshly. If you’re allergic to coconut, you can swap in maple syrup (use 1/3 cup) or date sugar, but the flavor profile will shift slightly toward fruitier tones.
The Texture Crew
Coconut Oil (2 tbsp): This oil provides a silky mouthfeel and helps the chocolate stay glossy after it sets. It also lowers the melting point, ensuring your bites melt on the tongue rather than in the hand. If you prefer a neutral flavor, replace with refined avocado oil – the texture stays the same, but you lose the faint coconut aroma.
Toasted Coconut Flakes (1/4 cup): These add a crunchy surprise that makes each bite interesting. Toast them lightly in a dry pan until they’re golden brown; over‑toasting will make them bitter, so keep a close eye. If you’re not a fan of coconut, try toasted almond slivers or crushed hazelnuts for a nutty alternative.
The Final Flourish
Vanilla Extract (1 tsp): A splash of vanilla rounds out the flavor, smoothing the edges between bitter and sweet. Pure vanilla extract is best; imitation can introduce off‑notes that clash with the cacao.
Sea Salt (a pinch): The pinch of flaky sea salt amplifies the chocolate’s depth, creating a flavor contrast that makes the palate sing. Don’t over‑salt – just enough to highlight the chocolate’s natural flavors.
Everything's prepped? Good. Let's get into the real action...
The Method — Step by Step
Set up a double‑boiler: fill a medium saucepan with two inches of water, bring it to a gentle simmer, then place a heat‑proof bowl on top, ensuring the bowl doesn’t touch the water. Add the chopped dark chocolate and coconut oil to the bowl. Stir constantly with a silicone spatula; the chocolate should melt evenly, forming a glossy, fluid mixture. Power tip: the moment you see the first glossy swirl, you know you’re on the right track.
Once fully melted, remove the bowl from heat. Immediately whisk in the coconut sugar, vanilla extract, and a pinch of sea salt. The mixture will hiss slightly as the sugar dissolves – that sizzle when it hits the pan? Absolute perfection. Keep whisking until the sugar is completely integrated and the mixture looks silky.
Now comes the crucial cooling phase. Transfer the bowl to a clean kitchen counter and let the chocolate sit for exactly three minutes. Watch Out: If you stir too early, you’ll lose the tempering effect; if you wait too long, the chocolate will begin to set and become unworkable.
While the chocolate cools, toast the coconut flakes. Heat a dry skillet over medium‑high heat, add the flakes, and stir constantly. In 2‑3 minutes they’ll turn a light golden brown and release a nutty aroma.
Kitchen Hack: Spread the toasted flakes on a parchment‑lined baking sheet and let them cool before folding them in – this prevents them from melting into the chocolate.After the three‑minute cooling, give the chocolate a quick stir to ensure it’s still fluid but has thickened slightly. This is the moment of truth – the chocolate should coat the back of a spoon and slowly drip off, forming a glossy ribbon.
Fold the toasted coconut flakes gently into the chocolate, distributing them evenly. The flakes should stay distinct, creating pockets of crunch throughout the bar.
Line a 9×9‑inch square baking pan with parchment paper, leaving an overhang for easy removal. Pour the chocolate mixture into the pan, spreading it with a spatula to achieve an even surface. Tap the pan lightly on the counter to release any trapped air bubbles.
Place the pan in the refrigerator for 20‑25 minutes. The chocolate will set firm, developing that coveted snap. This next part? Pure magic. When you lift the parchment, the bar should release cleanly, and the surface will shine like a polished gemstone.
Remove the bar from the fridge, lift it out using the parchment overhang, and place it on a cutting board. Using a sharp, warmed knife (dip the blade in hot water, wipe dry), cut the chocolate into 12 even squares or rectangles. The warm knife ensures clean cuts without cracking.
Transfer the pieces to a decorative platter, sprinkle a tiny pinch of flaky sea salt on each, and let them sit at room temperature for 5 minutes before serving. This final rest lets the flavors meld fully, delivering that perfect balance of bitter, sweet, and salty.
That's it — you did it. But hold on, I've got a few more tricks that'll take this to another level...
Insider Tricks for Flawless Results
The Temperature Rule Nobody Follows
Temperatures are the silent dictators of chocolate success. Keep your double‑boiler water just below a simmer – any boil will introduce steam that can cause the chocolate to seize. When you remove the bowl from heat, the chocolate’s temperature should hover around 115°F (46°C) for dark chocolate. Use an instant‑read thermometer if you have one; it’s the difference between a glossy bar and a dull, grainy mess.
Why Your Nose Knows Best
Your sense of smell is a more reliable indicator than a timer when it comes to toasting coconut flakes. When the flakes turn a light amber and you can smell a buttery, nutty aroma, they’re ready. If you keep them too long, they’ll develop a burnt, bitter edge that clashes with the chocolate’s smoothness. Trust the nose, not the clock.
The 5‑Minute Rest That Changes Everything
After you pull the chocolate from the fridge, let it sit at room temperature for exactly five minutes before serving. This short rest lets the cocoa butter crystals settle, ensuring each bite snaps cleanly and melts evenly. Skipping this step often results in a chocolate that feels “cold” on the tongue, dulling the flavor.
The “No‑Seize” Rescue
If your chocolate does seize (turns grainy and thick), don’t panic. Add a tablespoon of warm coconut oil, stir vigorously, and the mixture will smooth out again. This rescue works because the extra fat re‑lubricates the cocoa particles, restoring that silky texture.
The Slice‑And‑Serve Secret
A warm knife isn’t just for cutting; it also creates a clean edge that prevents crumbly fragments. Dip the blade in hot water, wipe it dry, and slice swiftly. The result? Perfect squares that look as good as they taste.
Creative Twists and Variations
This recipe is a playground. Here are some of my favorite ways to switch things up:
Spicy Chili‑Chocolate
Add a pinch of cayenne pepper and a dash of smoked paprika to the melted chocolate before cooling. The heat will amplify the chocolate’s depth, creating a daring bite that’s perfect for adventurous palates.
Berry Burst
Stir in a tablespoon of freeze‑dried raspberry powder after the chocolate has cooled slightly. The tangy berry notes contrast beautifully with the sweet coconut sugar, delivering a fruity surprise.
Nutty Crunch
Swap toasted coconut flakes for toasted almond slivers or hazelnut pieces. The nutty flavor pairs wonderfully with dark chocolate and adds an extra layer of texture.
Coffee Infusion
Dissolve a teaspoon of instant espresso powder in the melted chocolate for a mocha twist. The coffee’s bitterness amplifies the cacao, making the bar feel richer and more complex.
Mint Fresh
Add a few drops of natural peppermint extract after removing the bowl from heat. The cool mint lifts the chocolate’s richness, perfect for a post‑dinner palate cleanser.
Storing and Bringing It Back to Life
Fridge Storage
Place the chocolate bars in an airtight container or a zip‑top bag with a piece of parchment paper separating each layer. They’ll stay fresh for up to two weeks. The cool temperature preserves the snap and prevents bloom.
Freezer Friendly
Wrap each bar individually in foil, then place them in a freezer‑safe bag. They can be frozen for up to three months. When you’re ready to enjoy them, move the bars to the fridge for an hour, then let them sit at room temperature for 10 minutes before serving.
Best Reheating Method
If the chocolate loses its gloss or becomes a bit crumbly, gently re‑melt it using the same double‑boil method, adding a splash (about 1 tsp) of water or extra coconut oil. The added moisture creates a soft steam that revives the cocoa butter crystals, bringing back that silky shine.